How to Complete the Adjuster Invoice
1. Go to Documents -> Reports in X1
2. Click the Documents tab
3. Click Template Docs
4. Click Import

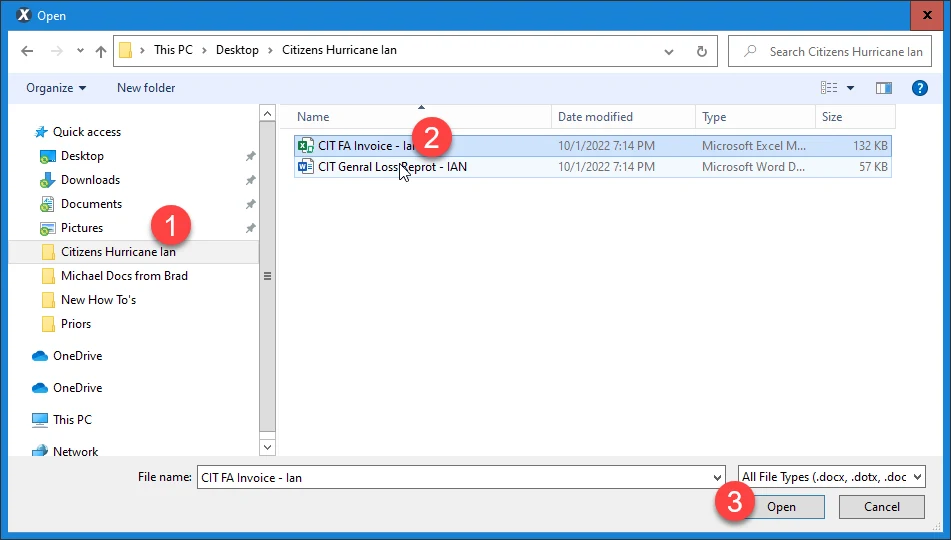
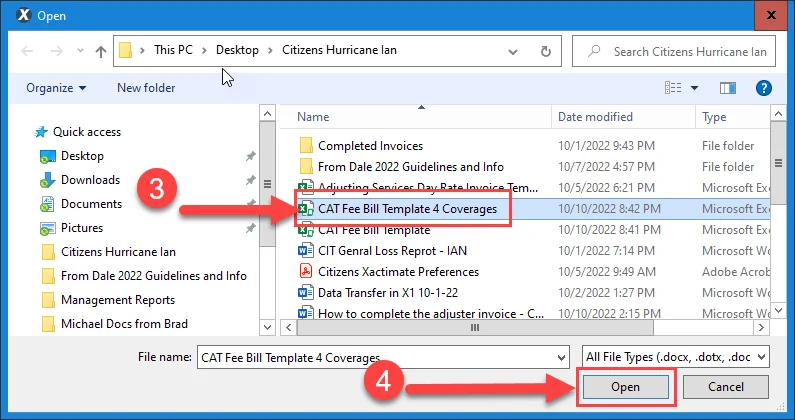
5. Browse to the location where you saved the invoice and select it. Click Open at the bottom The invoice will be added as a template within Xactimate for all claims. You will only perform these steps once. After first time setup, start with Step 6.
6. Double click the Invoice to open it up, in X1. Click “Enable Content” if prompted.

7. PAID Third Party Invoices:
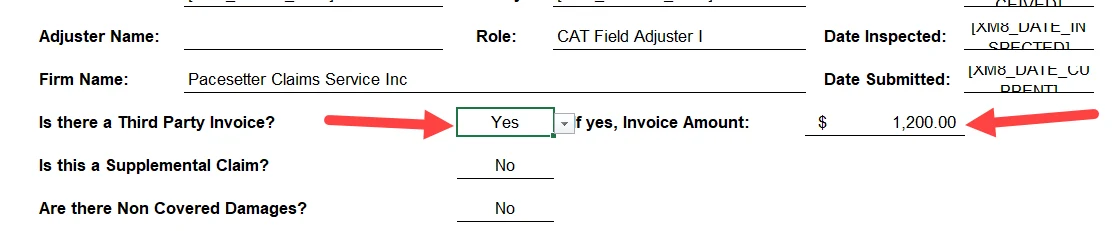
If there are any PAID invoices that pertain to the claim, i.e., water mitigation, tree removal, emergency tarping, etc. we must total the amount of all PAID invoices and put that total on the invoice.
Click the drop down for Is there a Third Party Invoice and select YES. Enter the TOTAL amount of all PAID Invoices in the field provided
8. Double click on the value for the “Enter Gross Claim Amount:” cell.

10. Click YES if you see this box!

11. Task Residential Inspection without Estimate:
For claims with no covered damage and you will not be writing an estimate, delete all of the numbers out of the Gross Claim Amount box. Then, scroll down and put a “1” in the “# of Items” Box.

12. Verify the invoice is correct then click Print to PDF, at the bottom of the form.

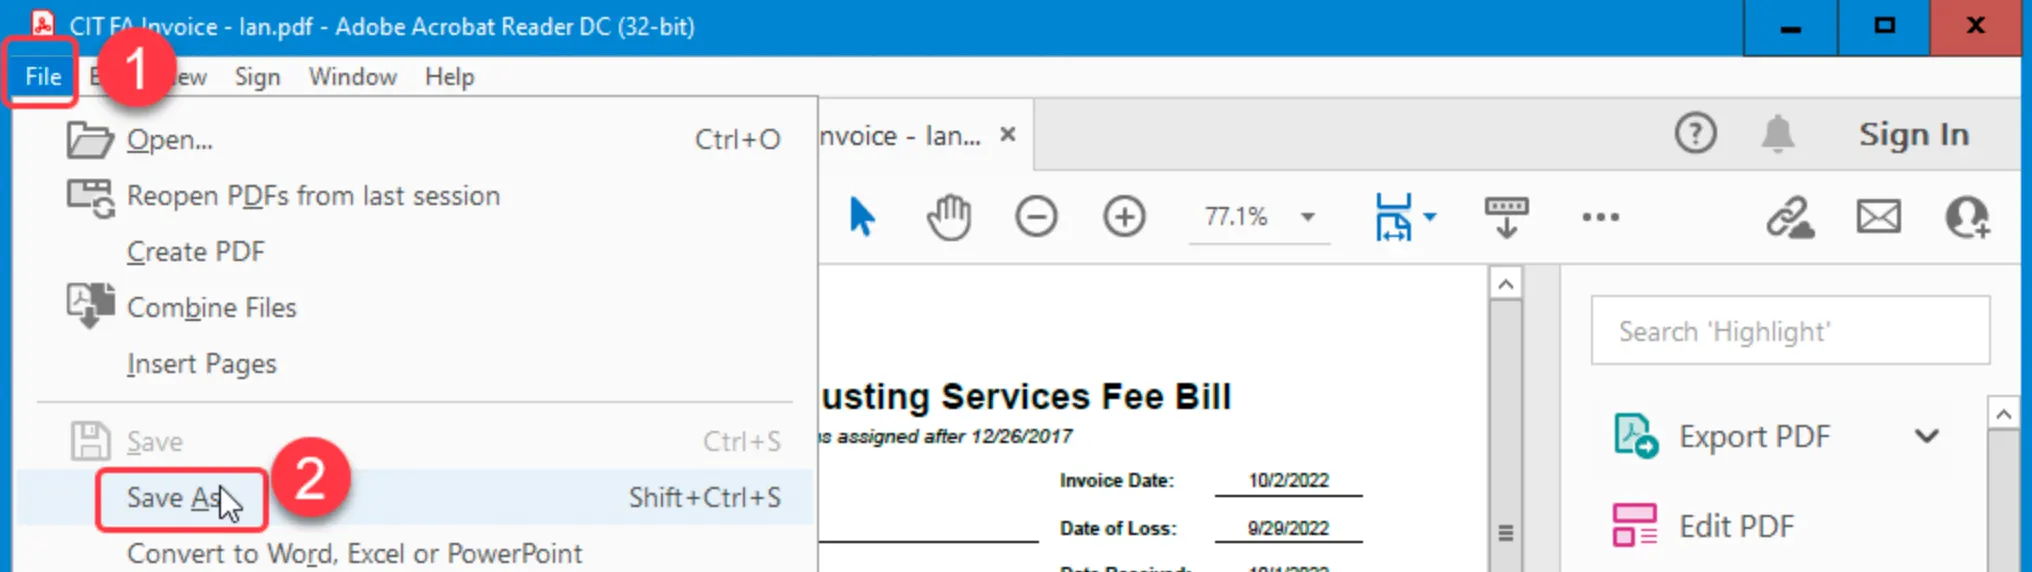
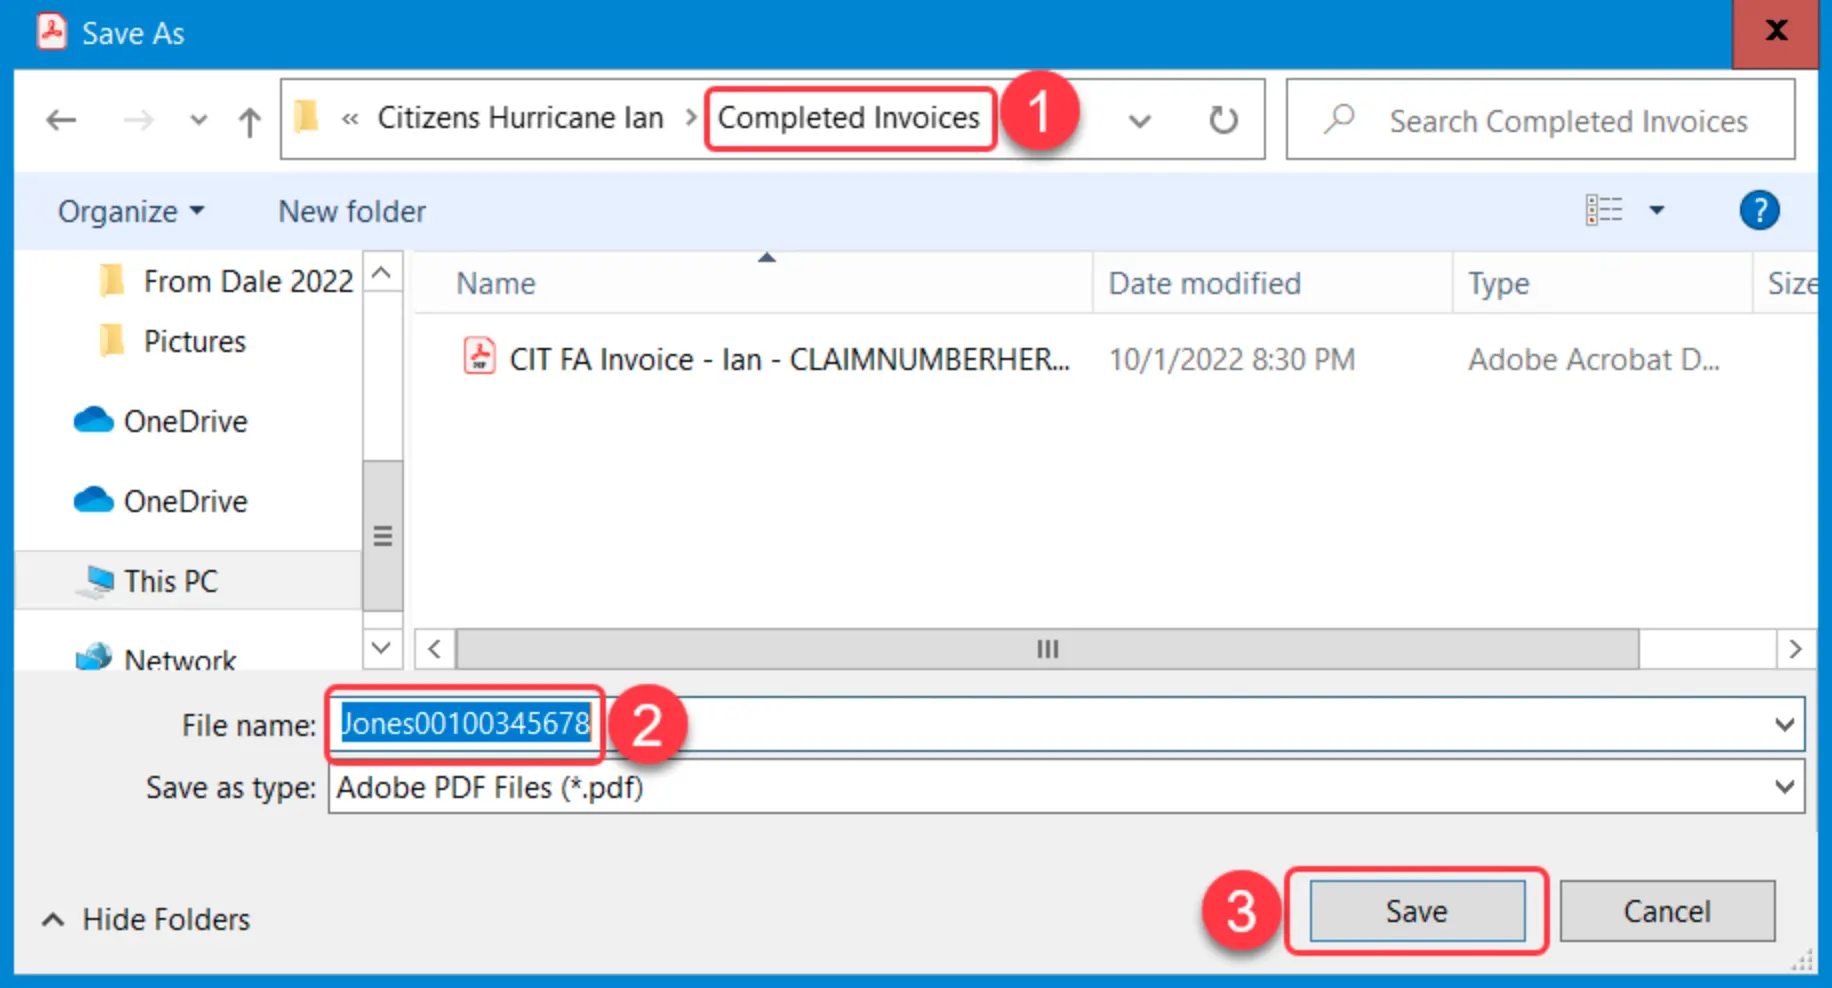
13. Save the PDF invoice to your computer. The Filename CANNOT have any spaces or special characters in it – not even the dashes in the claim number. Name the PDF file InsuuredLastName00100000000. Example: Jones00100345678.
14. You will notice the Excel template resets itself when you click Print to PDF. Close the Excel invoice. Click Don’t Save if you see this box.

15. Close PDF Invoice.
16. The Invoice and any other documents must be uploaded to the Documents tab in XactAnalysis, prior to completing and submitting the estimate package.
17. Go to the desired claim in XactAnalysis, and click on the Documents tab and click “Add Documents”
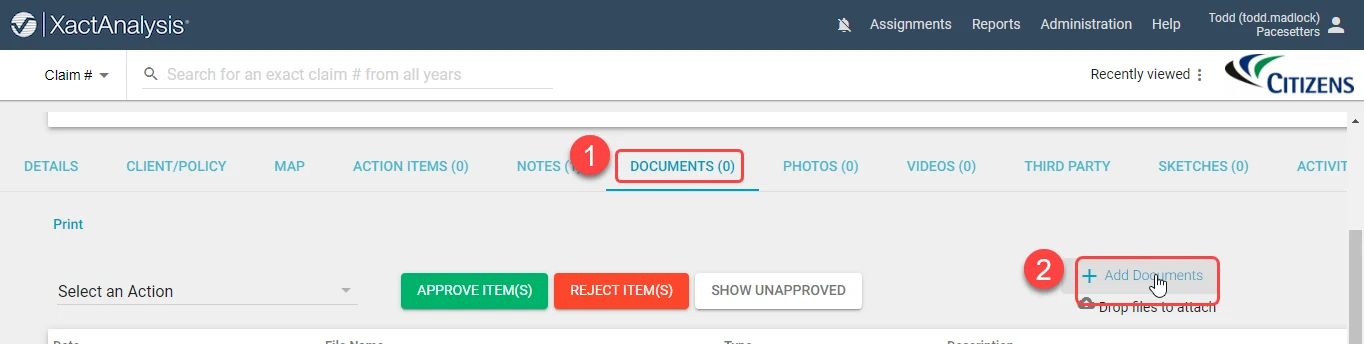
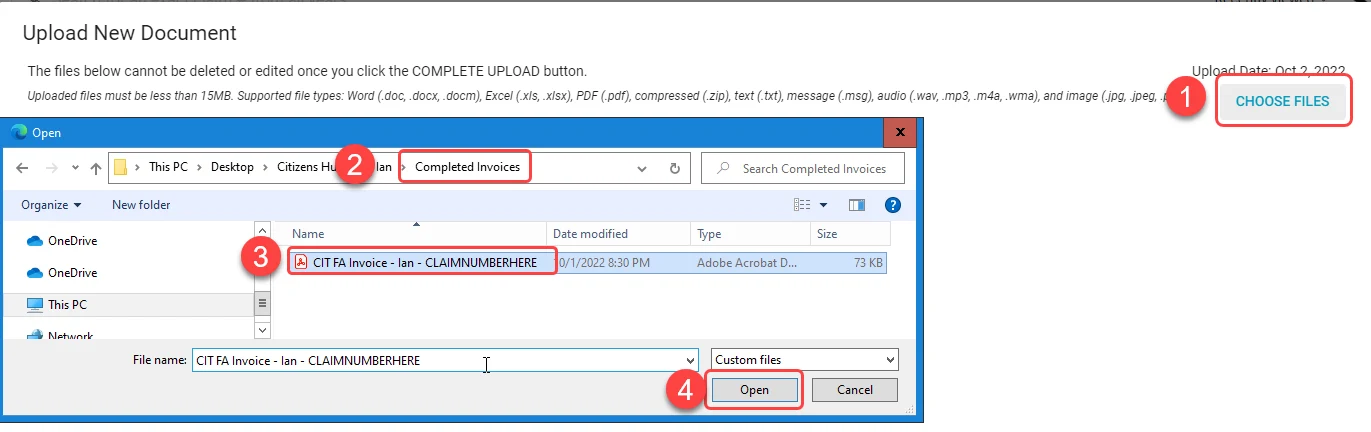
18. Click Choose Files, then browse to the location of your documents, select them and click Open.
19. Enter a meaningful description and then click Complete Upload.

Data Transfer in X1
1. In X1, go to Tools on the left-hand side. Then, choose the Import radio button and click the folder icon next to “Location”.

2. Browse to the folder that contains your data transfer files and click OK.

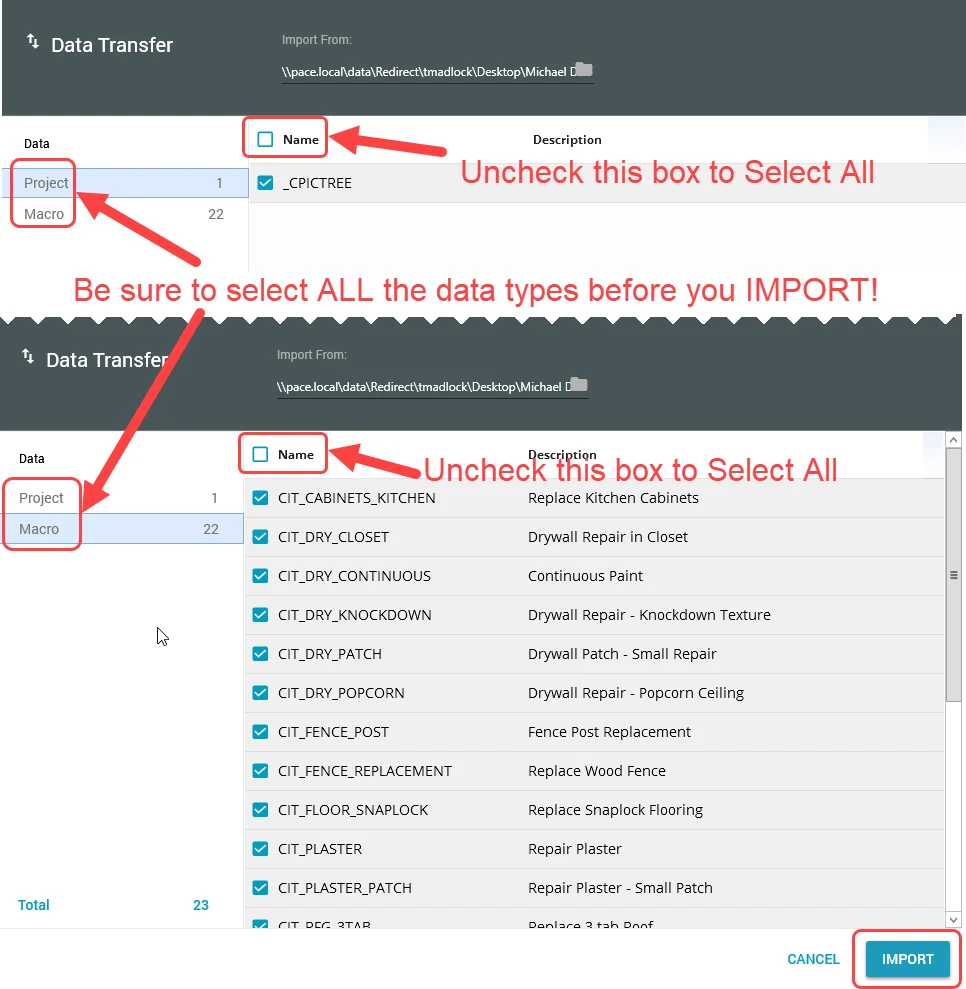
3. Now, click Select Data

4. Select all of the items. Click Import.
5. The files will import. Click Close when you see the Import Successful message.
![]()
How to Upload Documents to XactAnalysis
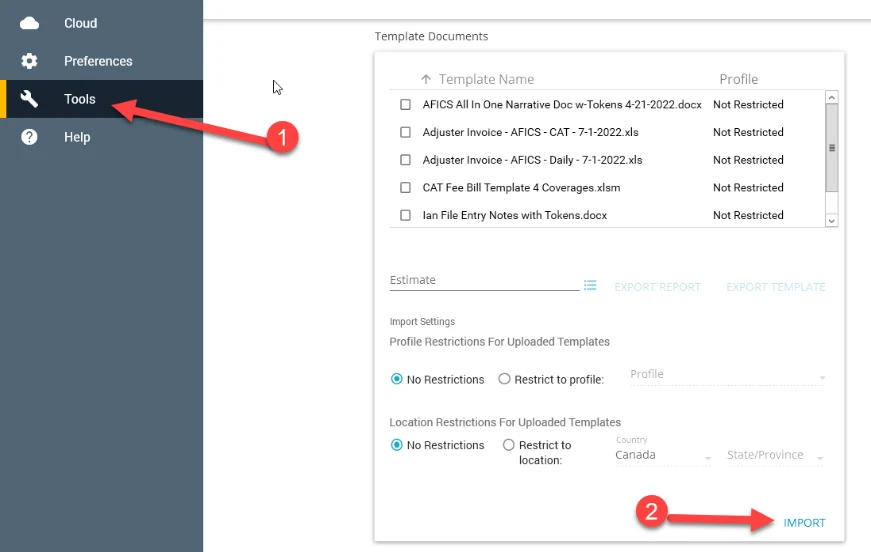
1. Go to Tools, scroll down to Template Documents, and then click Import.

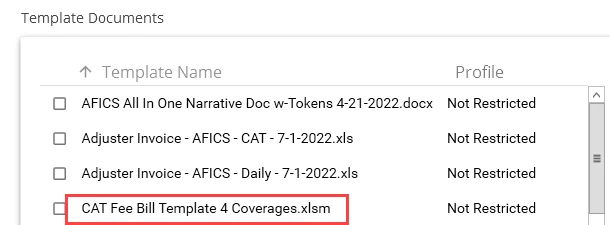
2. Browse to the folder where you have saved the new fee bill template
3. Then, it will appear in the list and be available for use in ALL estimates.
Import Templates in Xactimate
1. Go to the desired claim in XactAnalysis, and click on the Documents tab and click “Add Documents”.
2. Click Choose Files, then browse to the location of your documents, select them and click Open.

3. Enter a meaningful description and then click Complete Upload.

Reprice the Estimate
We are seeing many price variations in the files that are being sent. In order to
avoid kickbacks from File Review, we need to begin re-pricing the estimate after
you finish writing it.
1. Go to Claim Info
2. Go to Parameters
3. Click Reprice

4. Leave the settings the way they are
5. Click OK